
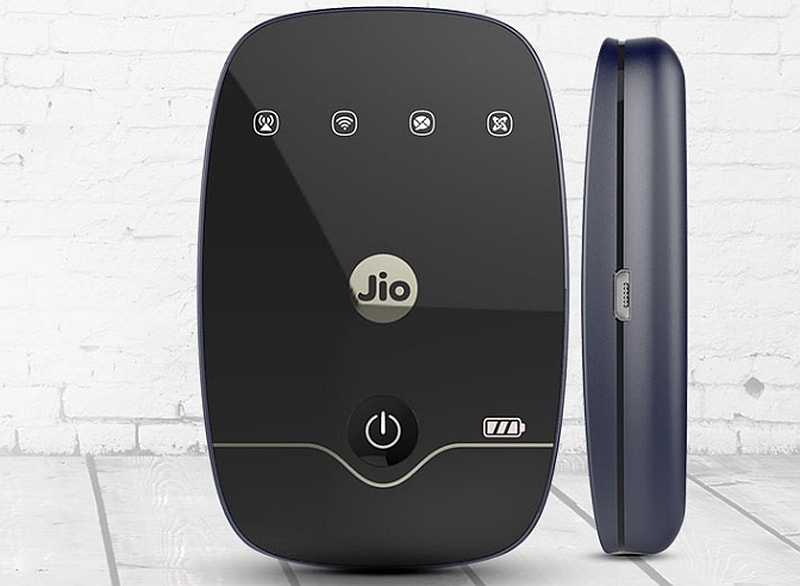
JioFi.local.html is a local default page of all the JioFi routers. It helps you to manage all the local settings of your JioFi connection. In case you have no idea about JioFi, it is a Wi-Fi hotspot which can connect upto 31 devices at a time and is a perfect pocket friendly device which can be carried anywhere. So in this article, I am gonna tell you everything you need to know about jiofi.local.html. So keep reading this.
· WHAT IS THE NEED OF jiofi.local.html ?
In order to connect to the admin panel of the JioFi, it is necessary to browse the url : jiofi.local.html. Only then, you would be redirected to the admin panel which is very essential for your JioFi. After getting access to the admin panel, you can change the WiFi name, modify the network, upgrade your firmware to the latest version and so on.
· WHAT IS jiofi.local.html ?
Every JioFi router comes with a particular IP address which is usually 192.168.1.1. It gives you access to your administration panel which is necessary for you to manage and configure your JioFi's settings. When you enter the given IP address in a browser, you will be taken to the administration panel in which, you have to login with your credentials. Once you are logged in, you can now configure your JioFi and change and manage various internal settings like changing the WiFi password, or SSID and so on.
Now that you are aware of the uses of jiofo.local.html, let us know about configuring a JioFi. So here is detailed guide for the same.
Steps to follow
STEP 1 : Open your browser of device connected to your JioFi. Enter this URL in the address bar : http://jiofi.local.html/ .
STEP 2 : Click on the option saying, 'login' and fill up your correct credentials. If you are logging in for the first time, select 'administrator' for both username and password.
STEP 3 : Now, head to the settings option and there, you will find a 'Wi-Fi' option. Click on that to change your WiFi network name, i.e. your SSID.
STEP 4 : If you want to change the username of your device, go to the User Management option under Settings.
STEP 5 : To change the password for your JioFi device, click on the 'Password' option under the settings option.
Final Words
That's all you have to do to configure your JioFi device. So, that's how easy it is
· How to connect your JioFi to a mobile phone or a PC ?
Note - In all the cases, the JioFi must be switched on and should be adequately charged.
· For connecting your JioFi to a smartphone or a laptop, just connect them using the SSID and password of the JioFi which can be found at the back of your JioFi.
· For connecting JioFi to a Computer which does not have WiFi option enabled in it, you have to connect it with a USB cable. You can do it by tethering JioFi hotspot device to your PC. You just have to connect your JioFi device to your PC using a microSD cable.
Done. Only this much has to be done for enjoying 4g data in your PC as well.
Hope this article has solved all your queries regarding the the default login page of JioFi, that is, jio.local.html.


Hi. I read the full article and i have one query on JioFi Router Login. Iam unable to Login into Jiofi.Local.html. Please Kindly tell me how can i login into Jiofi website.
ReplyDeleteHello Madam, Can You Tell Me How To Login JioFi Router? I'm Tired To Login On jiofi.local.html website. So, Please Tell Me.
ReplyDeleteEven I want the help with login for jio local html
ReplyDelete. Please provide help!!